이 포스팅은 Notion에서 작성되었으며 다음추천인 링크를 통해 가입하시면 $10 Credit을 얻으실 수 있습니다(저에게는 $5 Credit이 쌓입니다) Notion 가입 Link
광군절 구매 아이템중의 하나인 TUYA Zigbee 모터입니다. 다음 링크 제품을 구매하여 사용하였습니다.
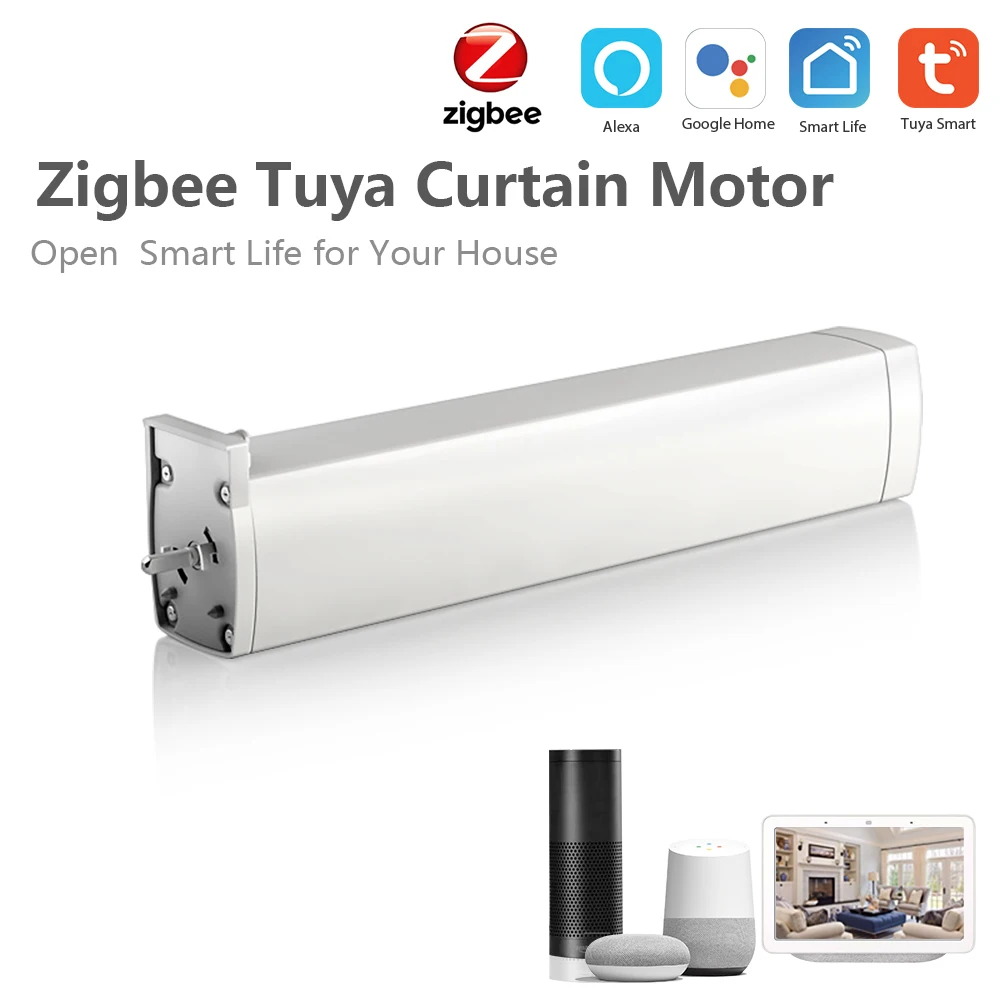
거실과 안방 암막커튼용으로 2개의 모터를 구매하였고, 레일은 마마바에서 가변 전동커튼 레일을 주문하였습니다.
필요사항
- Home Assistant && Mosquitto(MQTT Broker) [설치관련 포스팅](https://proactive.tistory.com/93)
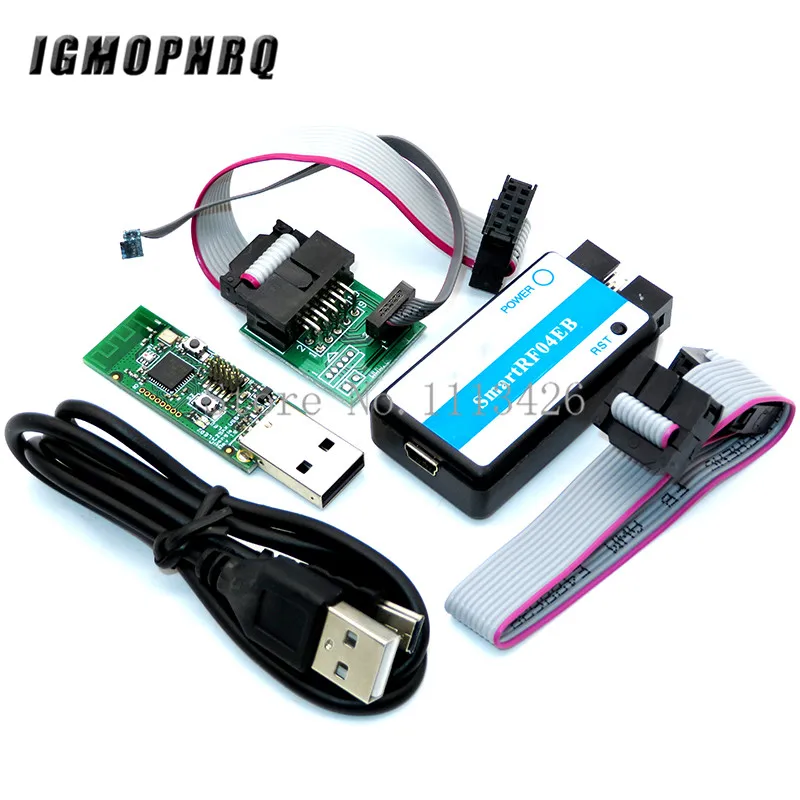
- usb zigbee (cc2531) [관련 포스팅](https://proactive.tistory.com/94)
- 레일 + 모터
설치 및 실행
zigbee2mqtt설정
zigbee2mqtt의 data폴더에 가면 configuration.yaml이 있는데 다음과 같이 설정하시면 됩니다.
configuration에 대한 상세설명은 공식페이지(https://www.zigbee2mqtt.io/information/configuration.html) 참고바랍니다.
- homeassistant: HA에서 MQTT discovery에 발견되게 할것인지를 설정합니다
- permit_join: 새로운 기기 등록이 가능하게 할건지 확인합니다. (커튼 등록 이후에는 false로 변경)
- mqtt: server: mosquitto 서버의 접속 방법에 대한 IP (ID/PW)등을 설정하면 됩니다.
- serial: cc2531이 설치된 포트로 설정하고 disable_led는 LED를 끄기위해 활용합니다
- devices: devices.yaml 별도로 devices.yaml파일로 관리하기 위하여 위와같이 추가했습니다.
- advanced: channel: zigbee통신의 채널 설정이가능합니다. wifi와 겹치지 않게 세팅하였습니다.
# Home Assistant integration (MQTT discovery)
homeassistant: true

# allow new devices to join
permit_join: true

# MQTT settings
mqtt:
  # MQTT base topic for zigbee2mqtt MQTT messages
  base_topic: zigbee2mqtt
  # MQTT server URL
  server: 'mqtt://localhost'
  # MQTT server authentication, uncomment if required:
  # user: my_user
  # password: my_password

# Serial settings
serial:
  # Location of CC2531 USB sniffer
  port: /dev/ttyACM0
  disable_led: true

devices: devices.yaml
gropus: groups.yaml

advanced:
  channel: 20
zigbee2mqtt에 TS0601 추가
구매한 모터의 경우 뒤에 리셋버튼을 통해 연결을 제어가능하고 다음과 같이 동작합니다.
- 3번 연달아 누른후 꾹~ (LED 깜빡일때 까지) 누르면 - 네트워크 초기화 를 진행하고
- 4번을 누르면 Zigbee pairing을 시도합니다.
--Updated 2021.03.30---
제가 갖고 있는 모델 기준으로는 최신 버전에서 자동으로 curtain기기로 등록이되어, 아래의 추가 Set-up을 진행할 필요가 없어졌습니다. 혹시 안되시는 분들을 위해 기존 포스팅은 남겨 두겠습니다
-----------------------------
zigbee2mqtt가 동작중인 상태에서 버튼을 4번 누르면 paring이 진행되고 device에 추가가 되긴 하였습니다. 하지만 Zigbee model이 TS0601로 잡히고 지원하지 않는 모델이라는 메세지가 발생했습니다. ( Unsupported )
info  2020-11-19 13:54:15: MQTT publish: topic 'zigbee2mqtt/bridge/log', payload '{"message":{"friendly_name":"0x5c0272fffec3d107"},"type":"device_connected"}'
info  2020-11-19 13:54:15: MQTT publish: topic 'zigbee2mqtt/bridge/log', payload '{"message":"interview_started","meta":{"friendly_name":"0x5c0272fffec3d107"},"type":"pairing"}'
info  2020-11-19 13:54:15: MQTT publish: topic 'zigbee2mqtt/bridge/log', payload '{"message":"announce","meta":{"friendly_name":"0x5c0272fffec3d107"},"type":"device_announced"}'
info  2020-11-19 13:54:16: Successfully interviewed '0x5c0272fffec3d107', device has successfully been paired
warn  2020-11-19 13:54:16: Device '0x5c0272fffec3d107' with Zigbee model 'TS0601' is NOT supported, please follow https://www.zigbee2mqtt.io/how_tos/how_to_support_new_devices.html
info  2020-11-19 13:54:16: MQTT publish: topic 'zigbee2mqtt/bridge/log', payload '{"message":"interview_successful","meta":{"friendly_name":"0x5c0272fffec3d107","supported":false},"type":"pairing"}'
warn  2020-11-19 13:54:20: Received message from unsupported device with Zigbee model 'TS0601'
warn  2020-11-19 13:54:20: Please see: https://www.zigbee2mqtt.io/how_tos/how_to_support_new_devices.html.
warn  2020-11-19 13:54:25: Received message from unsupported device with Zigbee model 'TS0601'
warn  2020-11-19 13:54:25: Please see: https://www.zigbee2mqtt.io/how_tos/how_to_support_new_devices.html.
info  2020-11-19 13:54:30: MQTT publish: topic 'zigbee2mqtt/bridge/state', payload 'offline'
info  2020-11-19 13:54:30: Disconnecting from MQTT server
info  2020-11-19 13:54:30: zigbee-herdsman stopped
devices.yaml
앞서 발견된 device들의 이름을 수정하여 추후 설정이 편하도록 해 줍니다. configuration.yaml과 같은 폴더 내에 위치한 다음 파일을 열어 friendly_name을 수정해 주시면됩니다.

Devices.js 수정
container-station에서 zigbee2mqtt 도커를 선택하면 단말(console) 클릭후 /bin/sh를 입력하여 docker shell을 실행해 줍니다.

열린 shell에서 다음 링크에 있는 파일을 열어줍니다.
cd node_modules/zigbee-herdsman-converters/
vi devices.js
model: 'TS0601_curtain' 부분을 찾습니다. 현재 기준으로 1700라인 근처에 있습니다.
--------------------------------------------------- Update 20.12.21-----------------------------------------------------------
아래 가이드에서는 zigbeeModel에 TS0601자체를 추가하였지만, 그렇지 않고 fingerprint에 모터의 manufacutrerName을 등록하시면
됩니다.
모터의 manufacutrerName은 zigbee2mqtt 의 data가 저장되어 있는 폴더에서 database.db 파일을 참고하시면 확인 할 수 있습니다.
data/database.db 파일

fingerprint추가

--------------------------------------------------- Previous ---------------------------------------------------------------------
여기에 zigbeeModel에 TS0601을 추가해서 저장해 주시면됩니다.

--------------------------------------------------- Previous ---------------------------------------------------------------------
이후 zigbee2mqtt를 재시작 해주시면 서비스 등록과 discovery가 되어 HA상의 구성요소에 추가된 것을 확인할 수 있습니다.

커튼 열림 닫힘 상태 바꾸기
상태 확인을 해보니 열림상태일때 → 닫힘 / 닫힘상태일때 → 열림으로 표기되고 있어서 해당 부분 수정을위해 다음과 같은 작업을 수행하였습니다.
통합구성요소 →MQTT →설정에서 다음과같은 페이로드를 날려줍니다.
topic: zigbee2mqtt/curtain/set
{
    "options":{
        "reverse_direction": "true"
    }
}
(이과정은 필요한지 잘 모르겠으나...) 그리고 devices.yaml에 invert_cover: true 를 추가하였습니다.
그리고 나니 상태가 변경이되어 제대로 출력되는것을 확인할 수있었습니다.
이후 구글홈과 연동하여 60%닫아줘~ 열어줘 ~ 닫아줘 등 모든 명령어가 잘 동작하는것을 확인할 수 있었습니다.
'Software > QNAP TS-251' 카테고리의 다른 글
| [QNAP][HA][EW11] EW11 자동 재부팅(Restart) 스크립트 (0) | 2020.11.30 |
|---|---|
| [QANP] 부팅시 Autorun QPKG 생성 (0) | 2020.11.30 |
| [QNAP][IoT] zigbee2mqtt 설치 (0) | 2020.11.20 |
| [QNAP][HA] nginx-proxy-manager 설치 (DuckDNS) (0) | 2020.11.13 |
| [QNAP][IoT] QNAP-251 Home Assitant(HA) & Mosquitto(MQTT) 설치 (0) | 2020.11.13 |


Uploaded by Notion2Tistory v1.0.0